Kodi: How to Enable Automatic Subtitles Search
 Automatic subtitle search and download function is one of the most useful features of Kodi. This feature is even more useful with AutoSubs add-on, it starts subtitle search automatically, when we play any media file on Kodi. By configuring Kodi, we can make this processes automatically on Kodi background. In this tutorial, we show how to configure AutoSubs Addon and subtitles function on Kodi.
This tutorial created on windows system and Kodi 17 Krypton. It should work on similar systems. If you have any problem feel free to leave a comment. We’ll be glad to assist you.
How to Enable Automatic Subtitles Search on Kodi
First, we install to AutoSubs add-on and subtitle service.
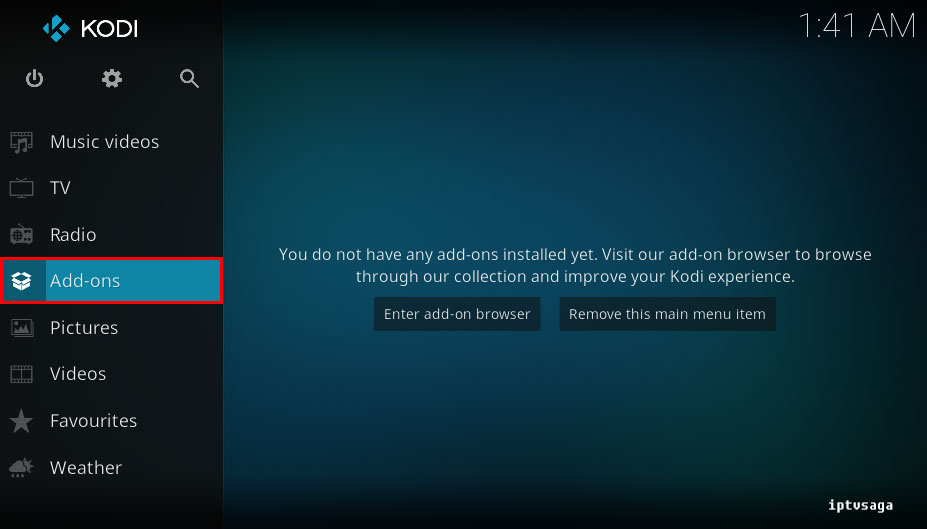
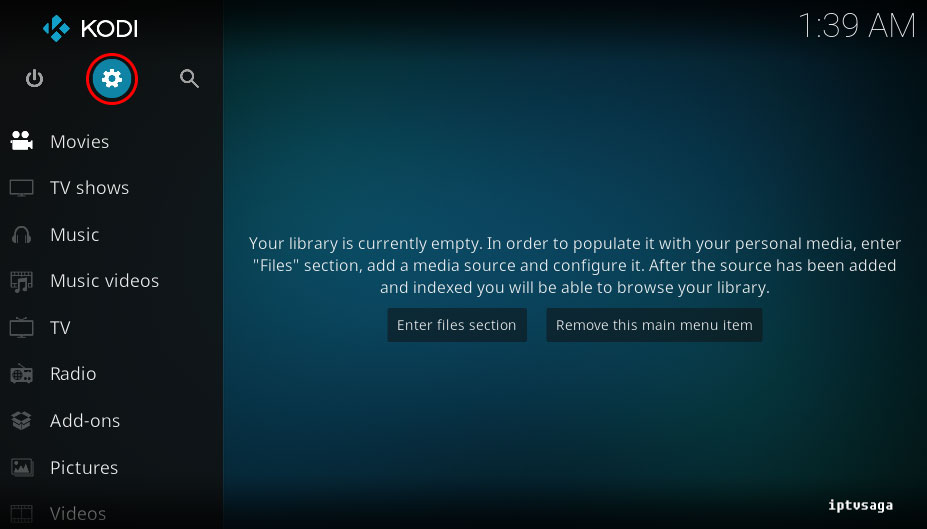
1. Open KODI
2- Add-ons
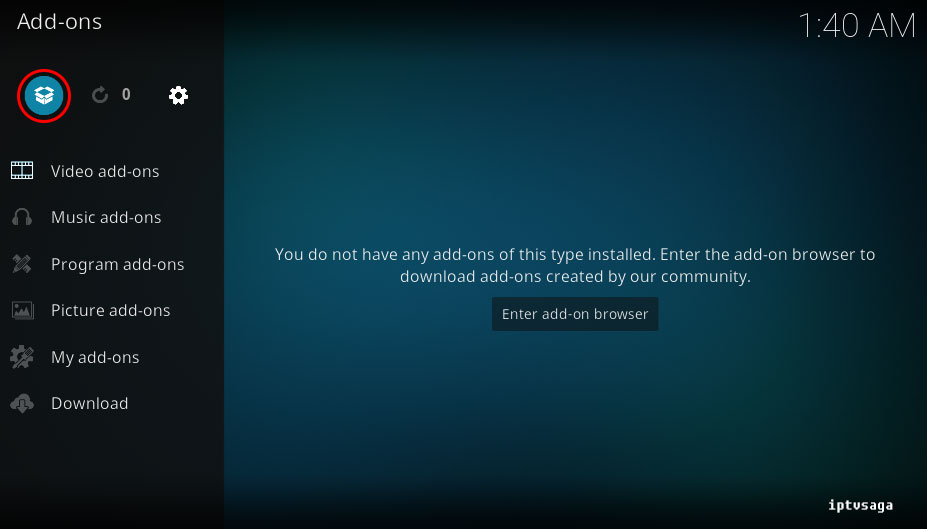
3- Enter Add-on Browser
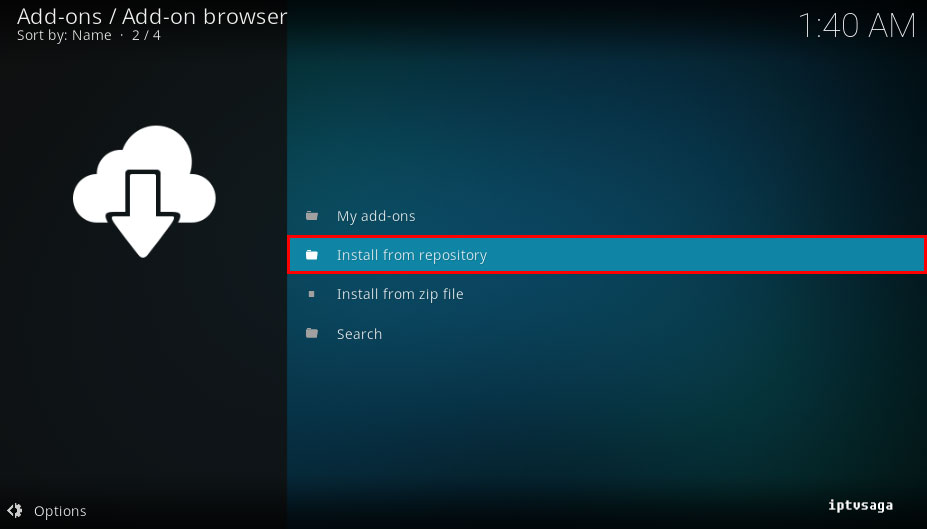
4- Install from repository
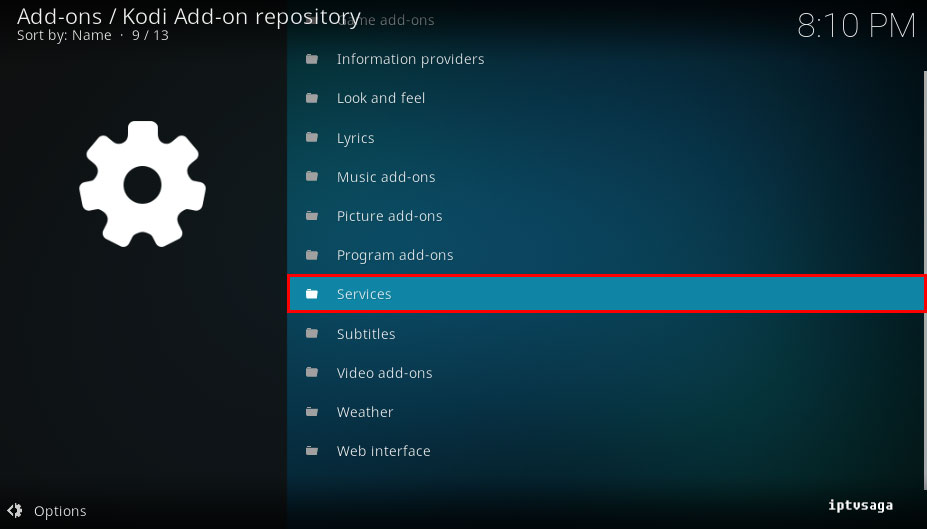
5- Kodi Add-on repository
6- Services
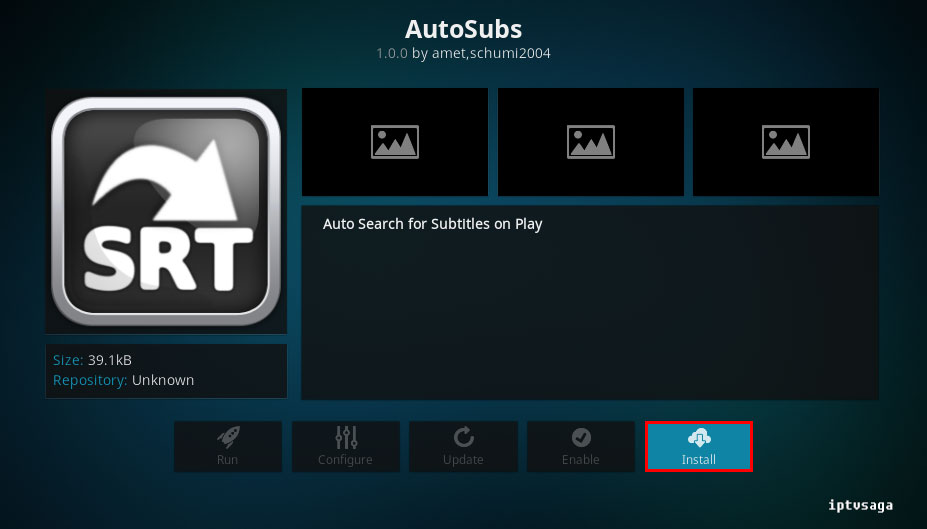
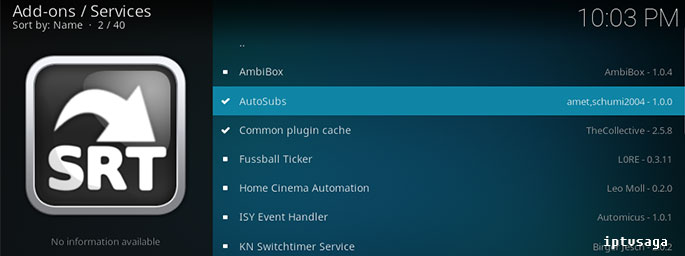
7- AutoSubs
8- Install
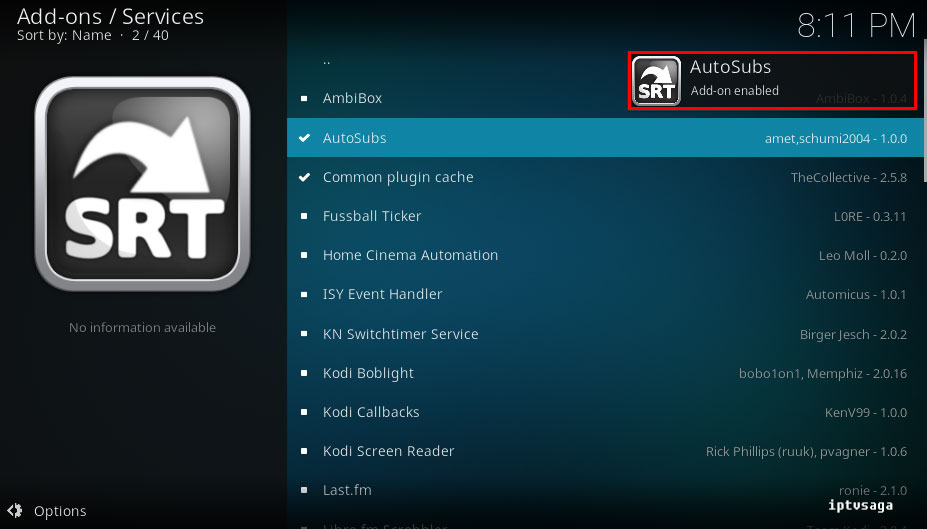
9- We should see the notification: AutoSubs Add-on Enabled
10- Now, we install the subtitle service
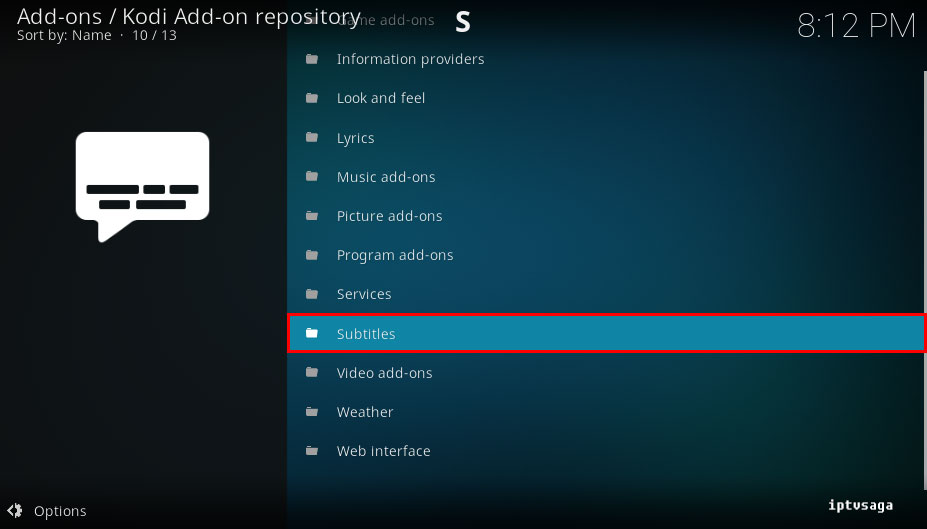
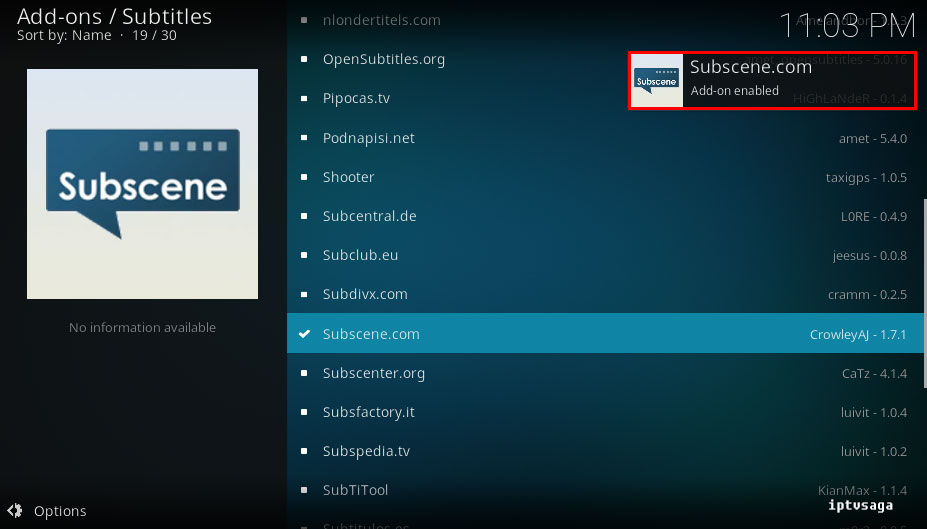
Go to Subtitles (In Kodi Add-on repository)
11- Choose a subtitle service:
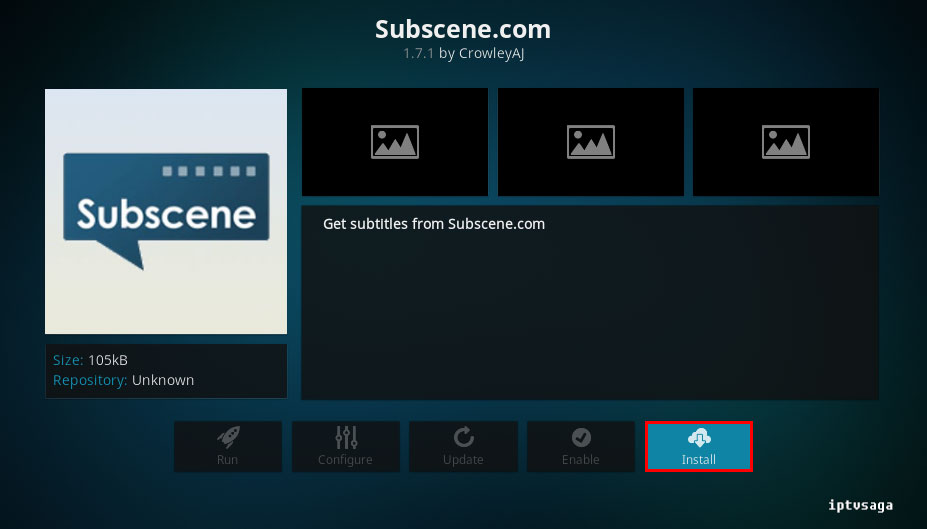
In example, We chose subscene.com. You can install multiple services.
12- Install
13- We should see the notification: Subscene.com Add-on Enabled
Automatic subtitles search function has been added successfully.
Now we are configuring to KODI.
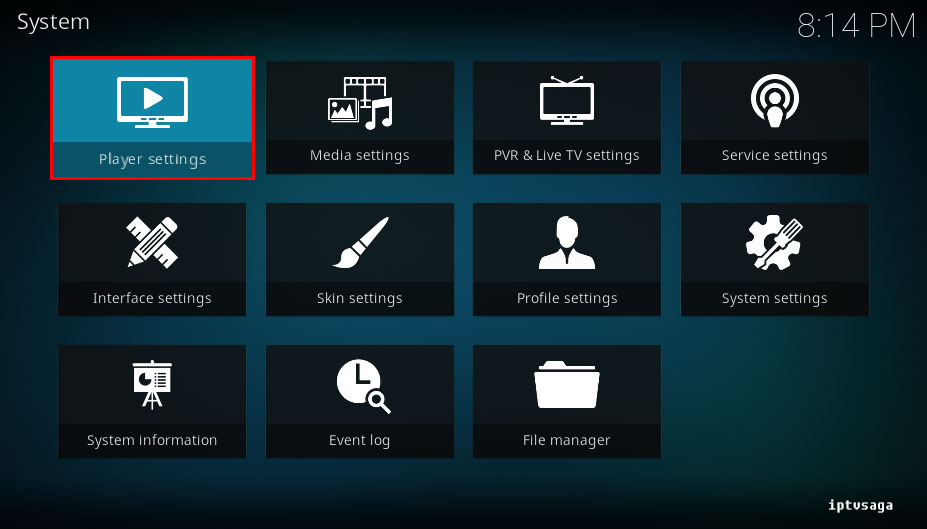
14- Back to System
15- Player settings
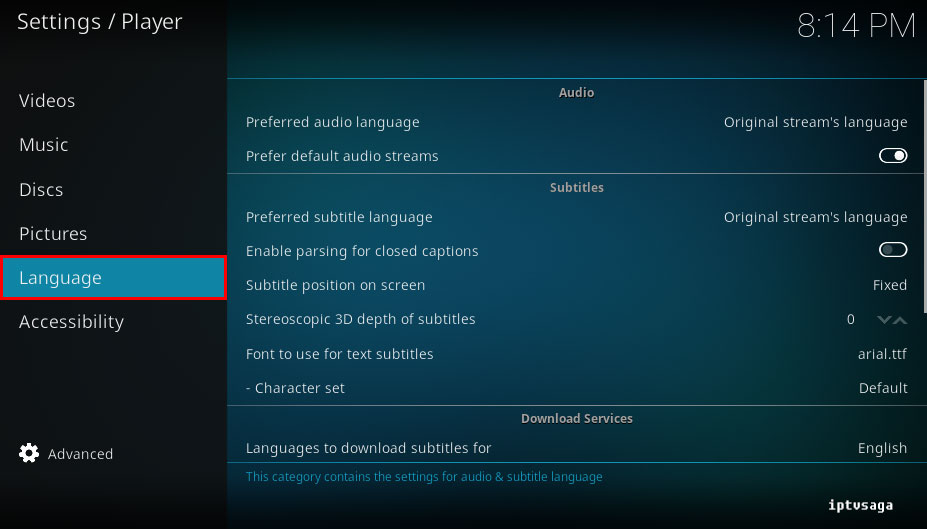
16- Language
17- Languages to download subtitles for:
Set your languages to use when searching for subtitles. You can make multiple selections.
18- Pause when searching for subtitles (Optional)
Pause the current video while searching for subtitles and resume once the subtitle is available.
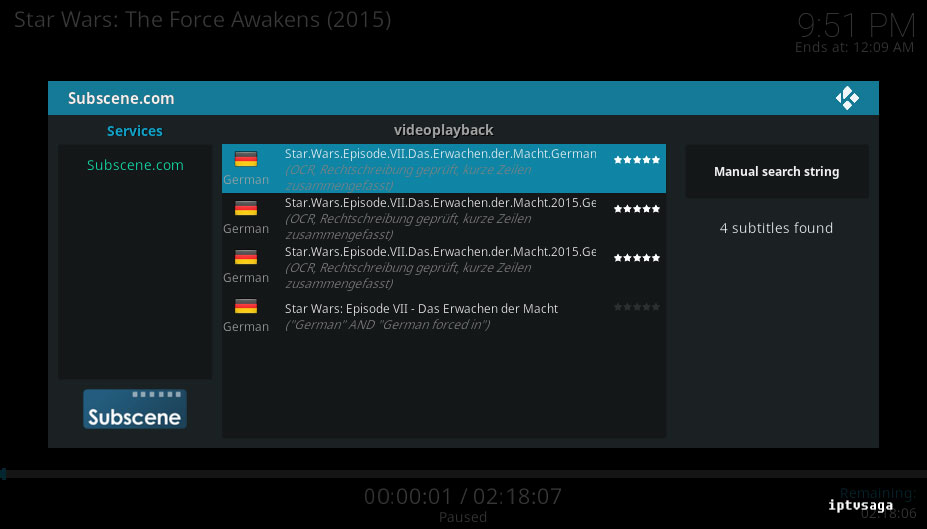
19- For example, we chose German language at step 17
Kodi automatic subtitle search example video:
Ready! Automatic subtitles have been successfully configured.
