Kodi: Phoenix Addon Installation Guide
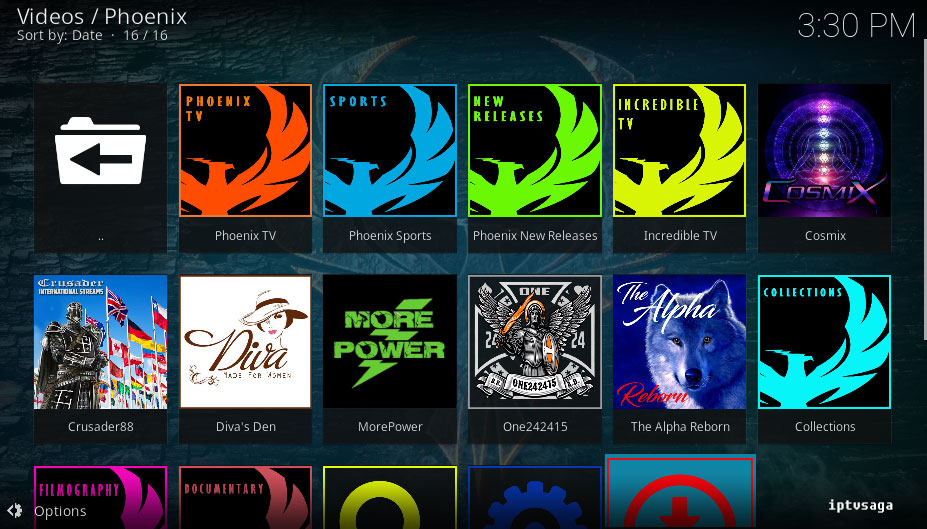
 Phoenix is one of the best Kodi video addons. In Phoenix, you can find latest movies, TV series, sports, documentaries, live tv channels and collections. Phonenix addon has large contents and it deserves to be added in to your addon list. In this Kodi Phoenix review, we show how to use phoenix on Kodi.
This tutorial created on windows system and Kodi 17 Krypton. It should work on similar systems. If you have any problem feel free to leave a comment. We’ll be glad to assist you.
Kodi: Phoenix Addon Installation Guide
Before the Phoenix addon Installation:
You will need to install TVAddons.co Repo or SuperRepo Repository:
Kodi: How to Install TVAddons.co Repository
Kodi: How to Install SuperRepo Repository
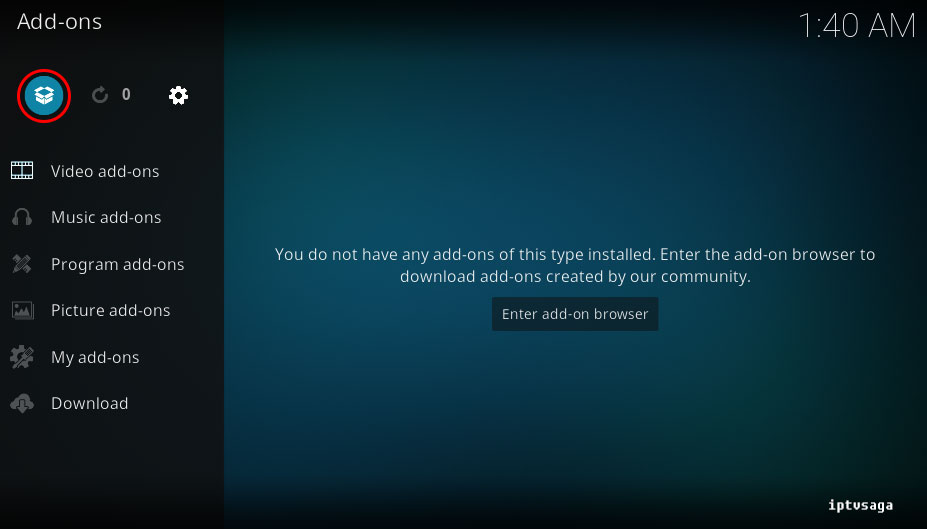
1. Open KODI
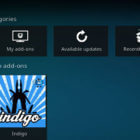
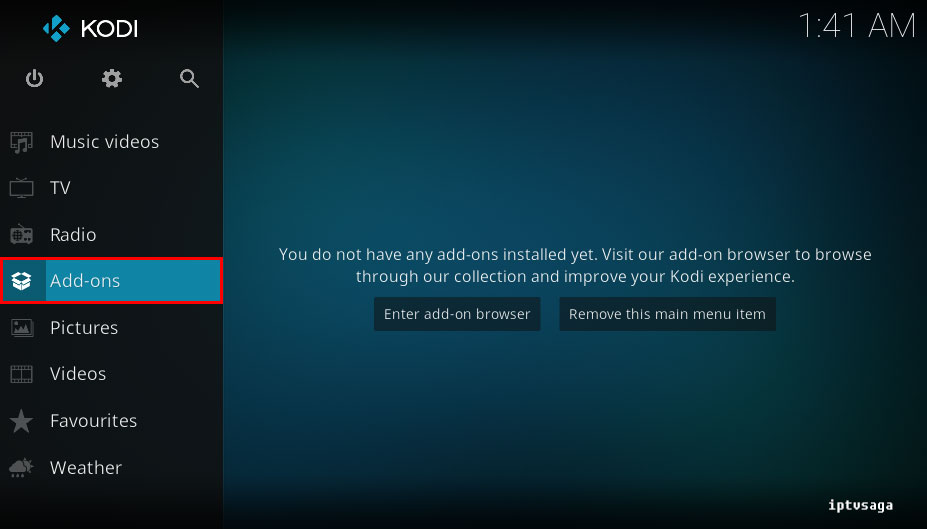
2. Add-ons
3. Enter the add-on browser (Icon Box)
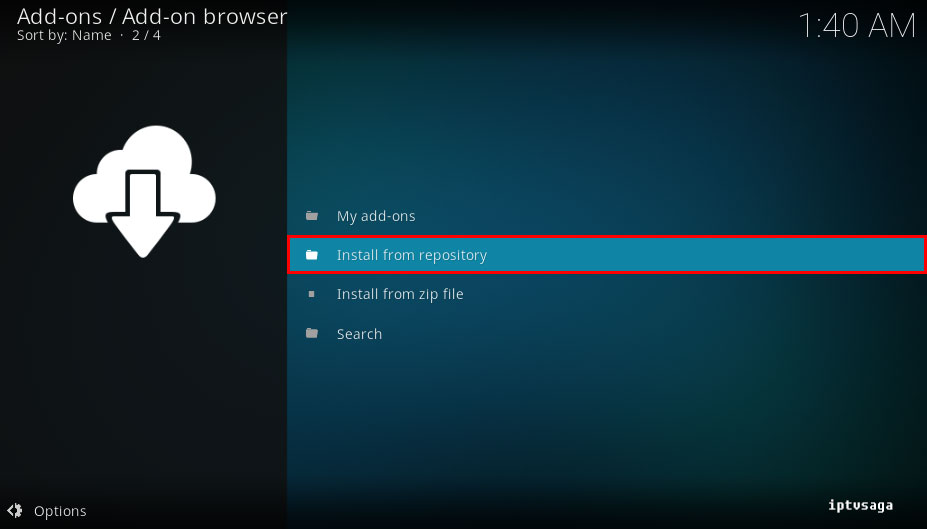
4. Install from repository
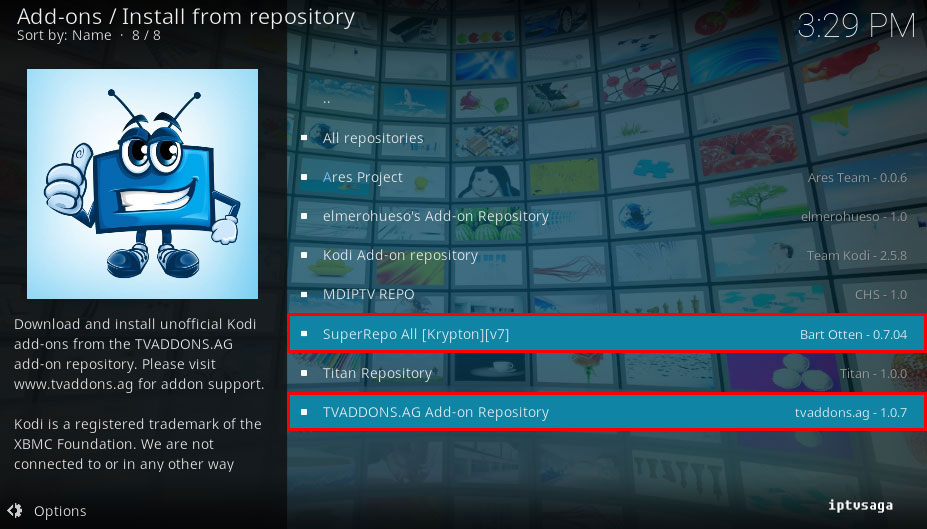
5. Select TVADDONS.CO Add-on or Super Repo Repository
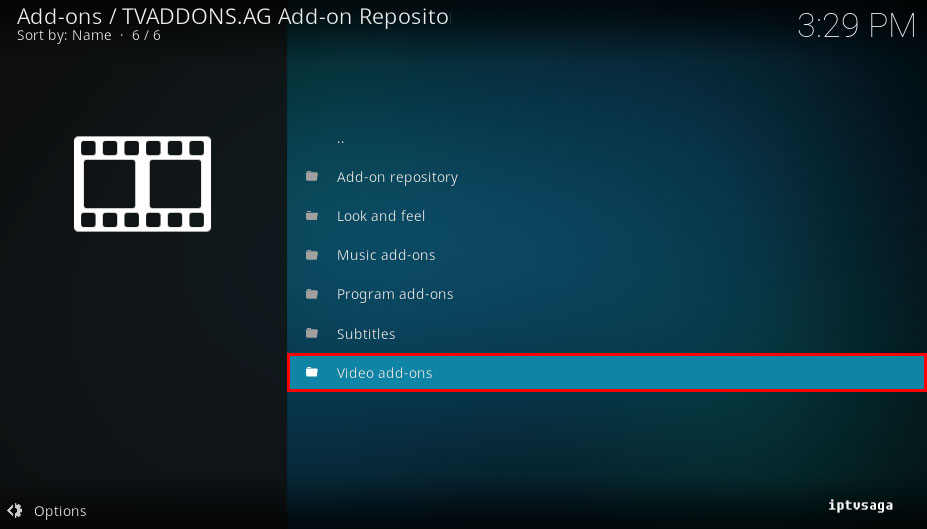
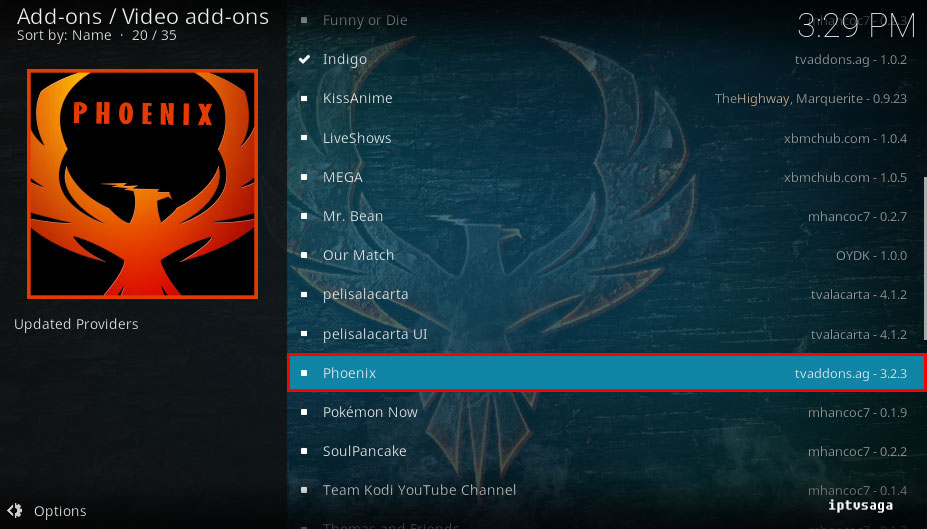
6. Select Video Add-ons
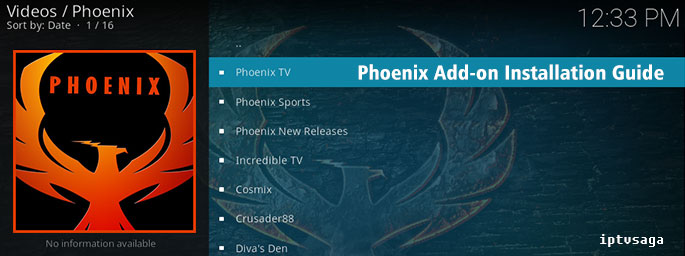
7. Select Phoenix in Add-on List
8. Install
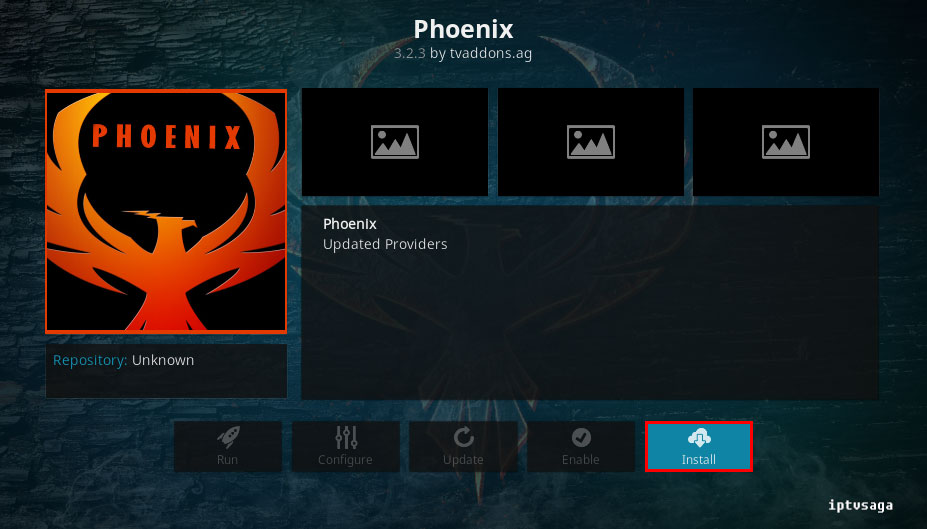
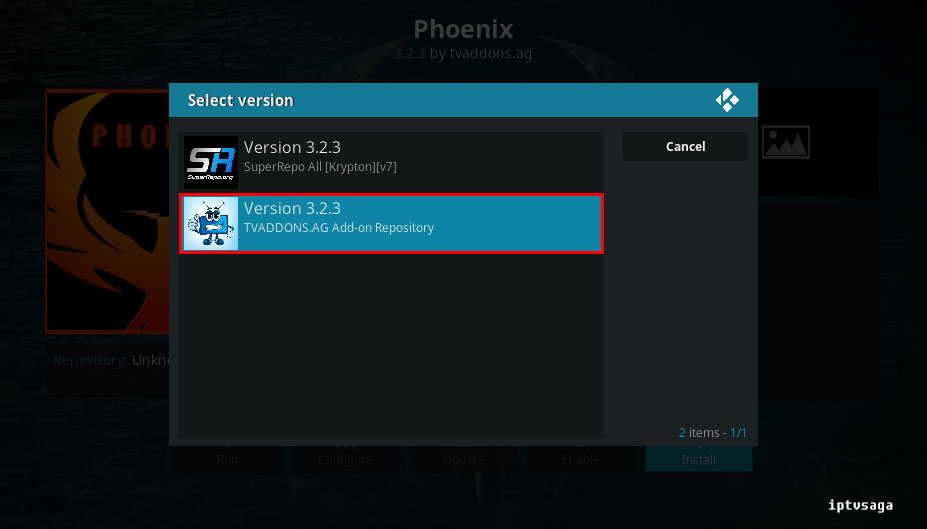
9. If the addon available in more repositories, select developer repository (TVAddons)
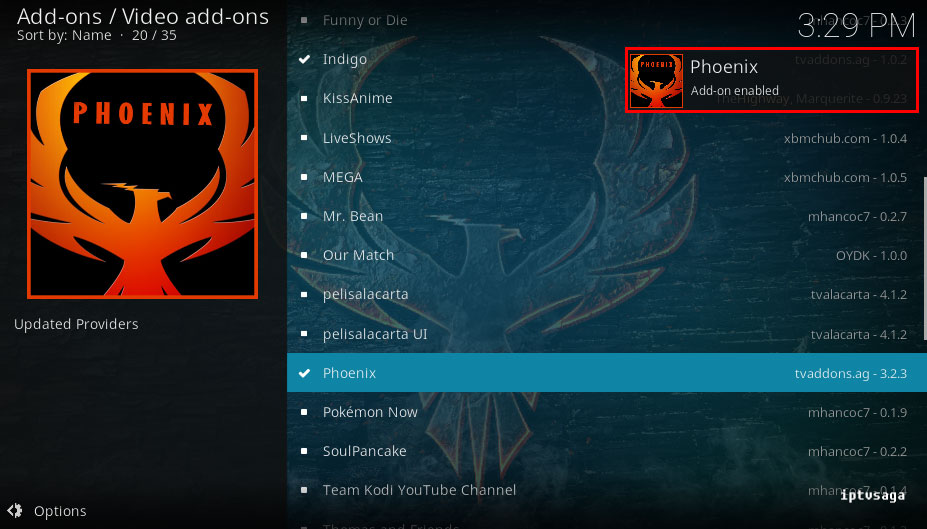
10. We should see the notification: Phoenix Add-on Enabled
Now, Phoenix Addon Add-on has been installed.
11. Back to Video Menu open to Phoenix Addon.
Ready! Phoenix Addon Add-on has been successfully installed.